
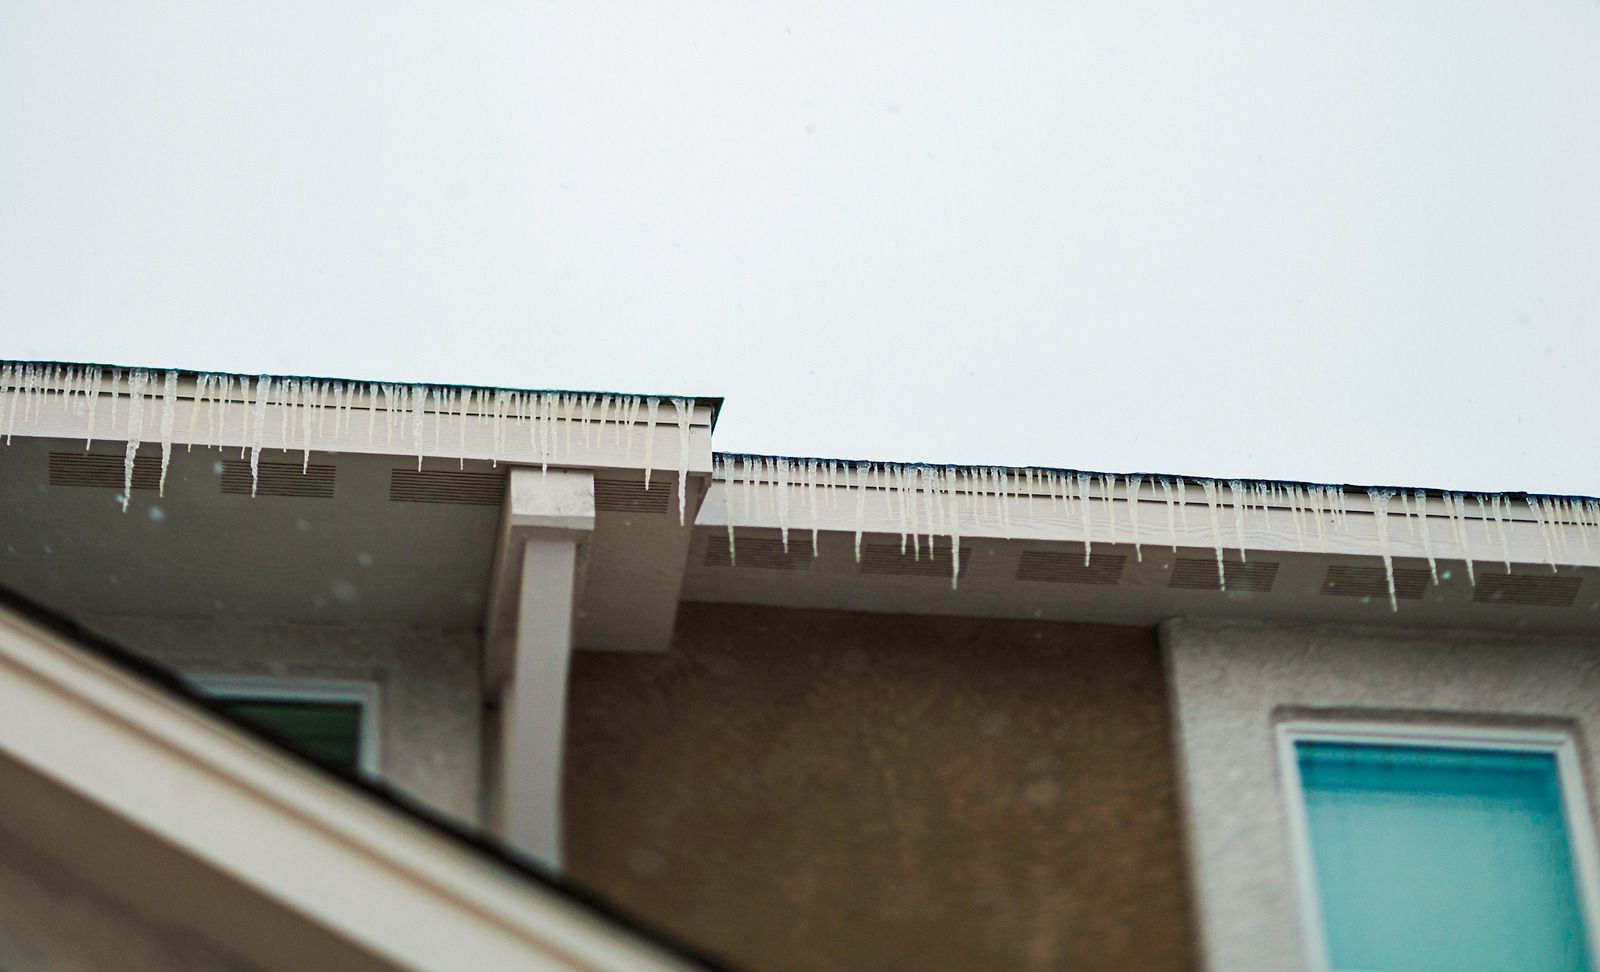
Learn what big icicles on gutters mean for your attic. Ensure your roof's health with proper gutter maintenance. Contact us today!
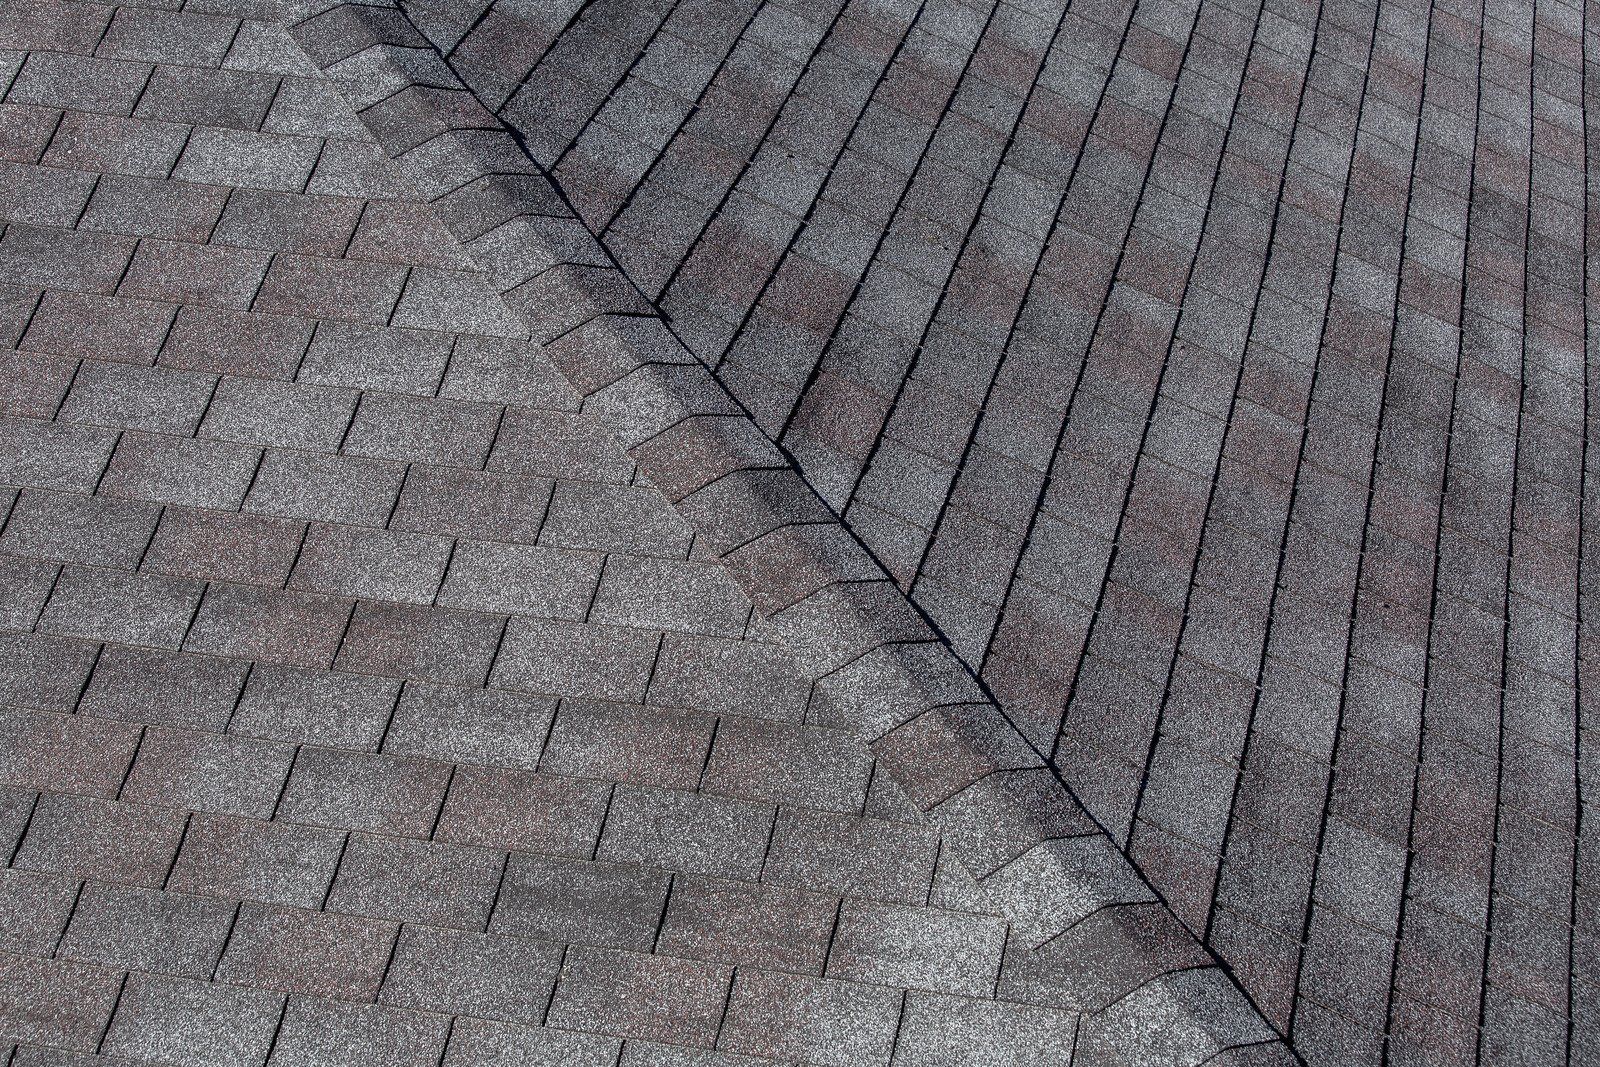
Your roof is one of the most important components of your property, yet it is often overlooked until a problem becomes impossible to ignore.
Maintaining a safe and structurally sound roof is one of the most critical aspects of homeownership. Roof problems can emerge gradually or suddenly, ranging from minor leaks to severe storm damage, making timely repair essential.
Learn what big icicles on gutters mean for your attic. Ensure your roof's health with proper gutter maintenance. Contact us today!
Your roof is one of the most important components of your property, yet it is often overlooked until a problem becomes impossible to ignore.
Maintaining a safe and structurally sound roof is one of the most critical aspects of homeownership. Roof problems can emerge gradually or suddenly, ranging from minor leaks to severe storm damage, making timely repair essential.