What to Expect During a Roof Replacement: A Step-by-Step Guide
May 10, 2025

Replacing your roof is a significant home improvement project that can feel overwhelming without the right preparation. Understanding the roof replacement process helps set realistic expectations and ensures the job is completed efficiently. Here’s a step-by-step guide to walk you through what typically happens during a roof replacement.
1. Initial Roof Inspection and Estimate
Before any work begins, a roofing contractor will inspect your existing roof to assess its condition. This includes checking for leaks, damaged shingles, mold, or structural issues. After the inspection, you’ll receive a detailed estimate outlining the scope of work, materials needed, and project timeline. This step is crucial for budgeting and planning.
2. Choosing the Right Roofing Materials
Once you agree on the estimate, the next step involves selecting materials. Options include asphalt shingles, metal, tile, or slate—each with different durability, cost, and aesthetic appeal. Your contractor will help you choose based on your home’s style, local climate, and budget.
3. Scheduling and Permits
Before any construction begins, your contractor will schedule the job and secure any required local permits. This step ensures the project complies with local building codes and safety regulations. In many areas, inspections may also be scheduled at certain milestones during the replacement.
4. Roof Removal (Tear-Off Process)
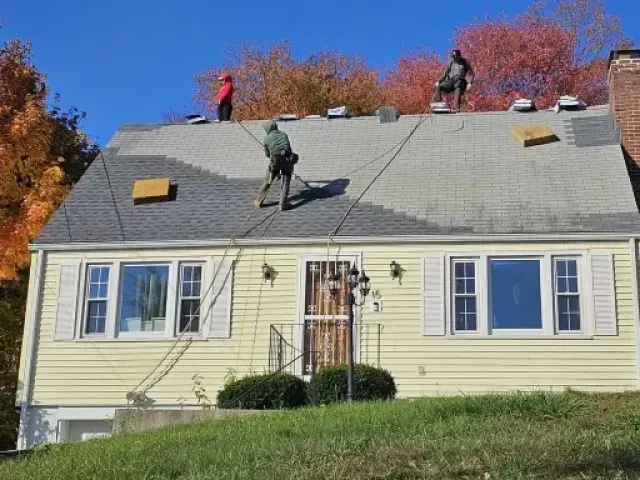
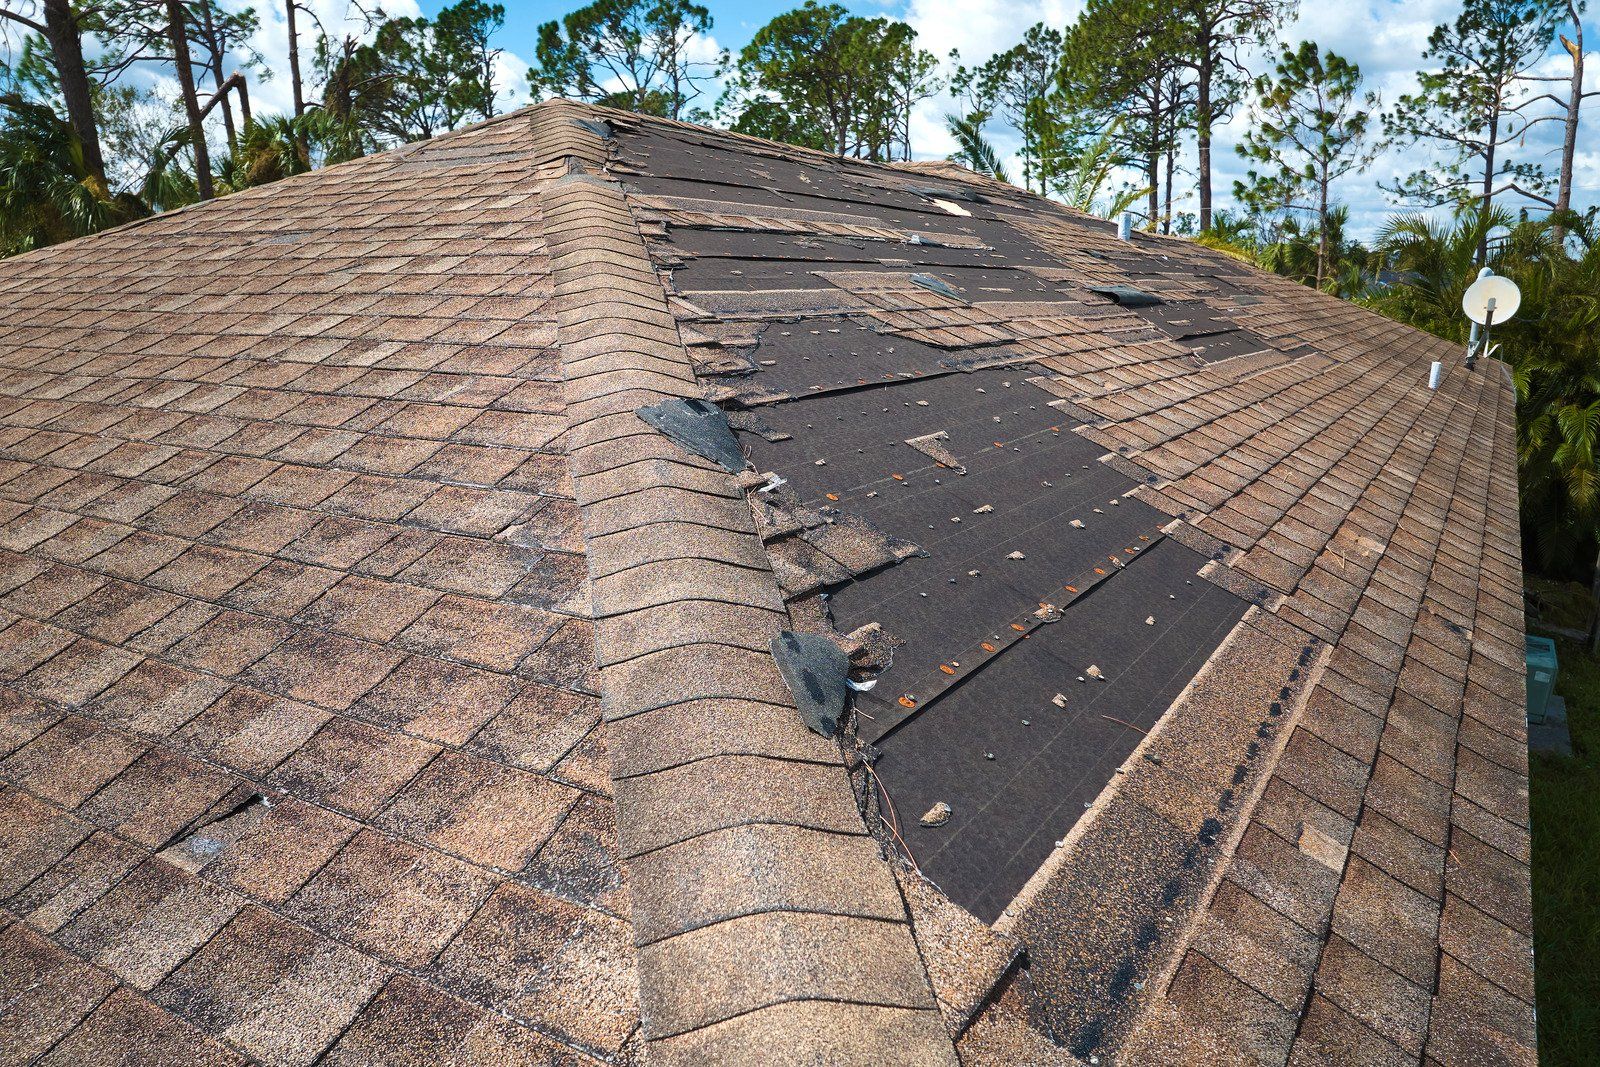
On the scheduled day, the team will begin by removing the old roofing materials. This includes shingles, underlayment, and any damaged flashing or decking. Proper disposal is key—expect a dumpster or trailer on-site for debris collection. This step is noisy and can take a full day or more, depending on roof size.
5. Inspecting the Roof Deck
After the old roof is removed, the underlying roof deck is inspected for rot, mold, or other damage. If any issues are found, repairs or replacements are completed before moving forward. A solid deck is essential for the new roof’s performance and longevity.
6. Installing Underlayment and Flashing
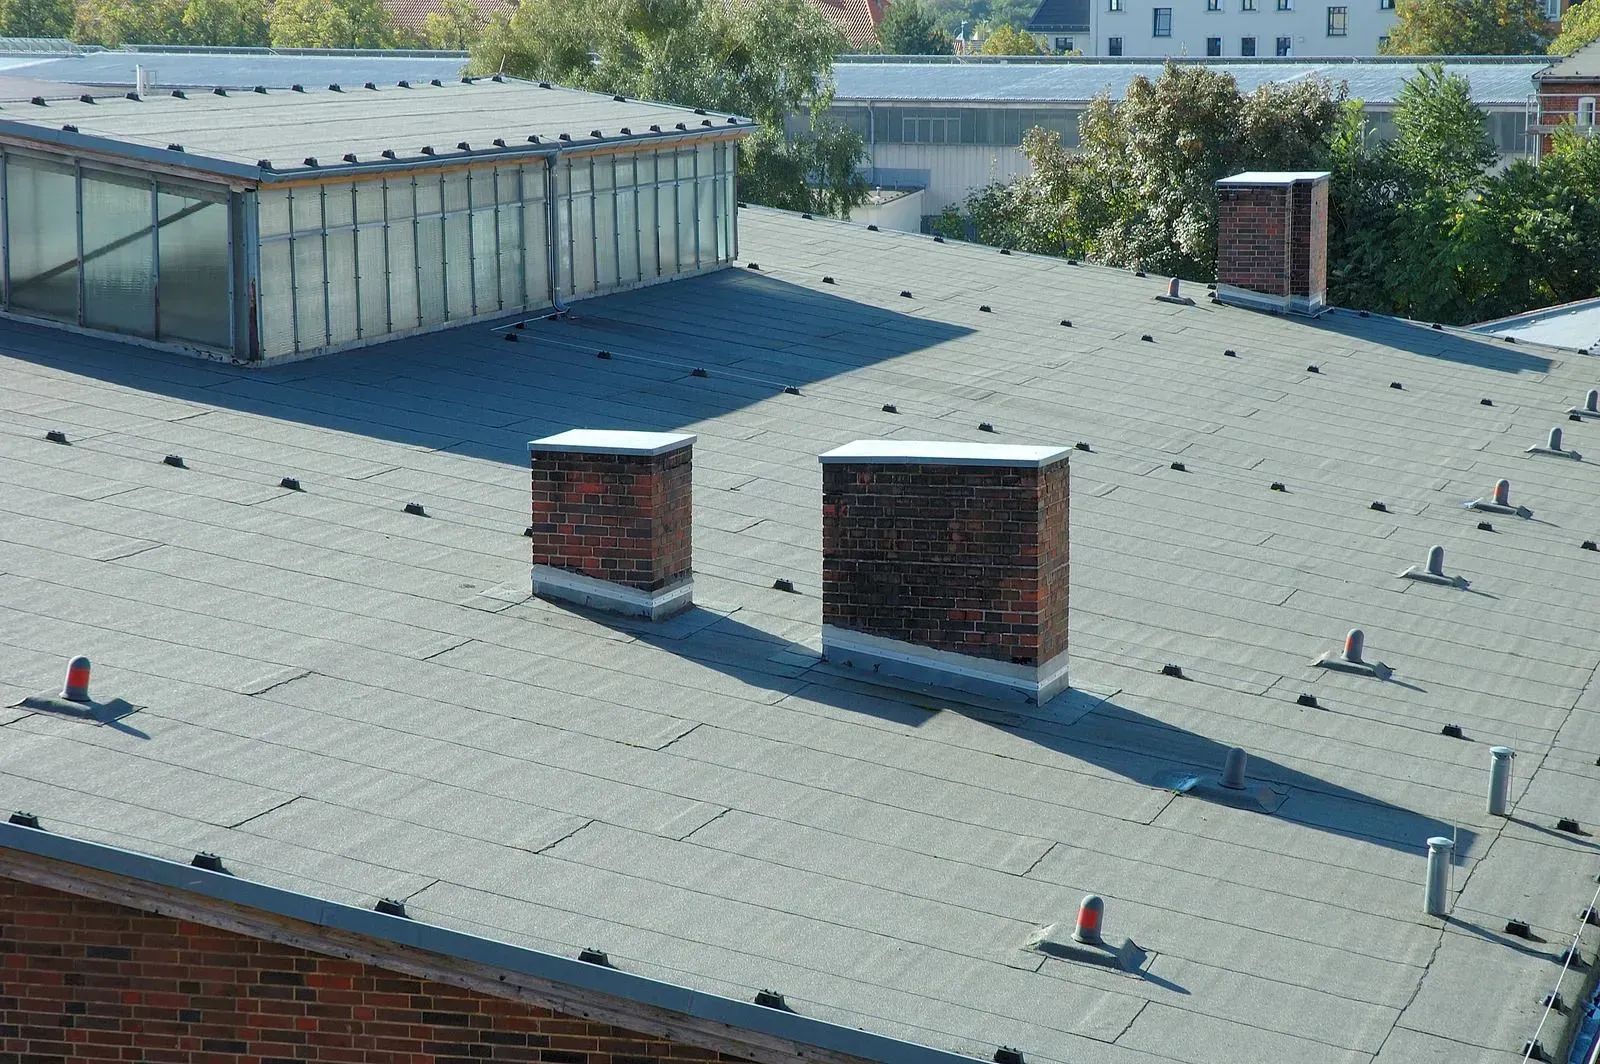
With a clean, stable deck in place, the next step is installing the underlayment—a water-resistant barrier that adds protection against leaks. Flashing is also installed around vulnerable areas like chimneys, skylights, and vents. These elements ensure your roof is weather-tight.
7. Shingle or Material Installation
Now the main roofing materials are installed according to the manufacturer's specifications. This process is done systematically to ensure water flows properly off the roof. Workers use safety harnesses and tools to secure the materials in place while maintaining proper ventilation for the attic.
8. Final Inspection and Cleanup
After the installation is complete, a final inspection is conducted to ensure everything meets quality standards. Your contractor will check for proper flashing, ventilation, and finish work. The crew will also clean the area thoroughly, removing debris, sweeping for nails, and hauling away waste.
9. Warranty and Maintenance Information
Once the job is done, your contractor will provide warranty information and maintenance tips to extend your roof’s life. Understanding how to care for your new roof, including regular inspections and cleaning, will help you get the most from your investment.
A roof replacement is a major project, but with the right team, it doesn't have to be stressful. Valley Roofing LLC
has been serving Southington, Connecticut, for over 35 years with expert craftsmanship and dependable service. Whether you're facing storm damage or simply upgrading your home, our experienced team is ready to guide you through every step. Contact us today for a free roof inspection and quote!


